Getting Started with SkySlope
What is SkySlope Forms & DigiSign?
Forms: SkySlope Forms is a digital forms preparation tool that integrates with UtahRealEstate.com and includes the following features:
- Unlimited use of SkySlope Forms included with your MLS membership at no additional cost.
- Access to all forms from the Utah Association of REALTORS® (UAR), Utah Division of Real Estate, and UtahRealEstate.com.
- All forms are digitally fillable.
- All forms are preformatted (checkboxes, date fields, text fields, etc.) for ease-of-use.
- Custom forms preparation can be done by adding additional custom checkboxes, clauses, strikethroughs, etc.
- Forms can easily be auto-filled with information from the MLS, such as listing information and agent/office information.
- Create custom forms packets and templates for future use.
DigiSign: This is SkySlope’s electronic signature product, which integrates with SkySlope Forms and which includes the following features:
- Unlimited use of DigiSign included with your MLS membership at no additional cost.
- Easily send forms prepared in SkySlope Forms (or other forms you upload to SkySlope) to your clients for electronic signature.
- Pre-populated signature and initial areas, as well as ability to add custom signature and initial areas.
- Receive real-time updates on the status of signatures.
How Do I Access SkySlope?
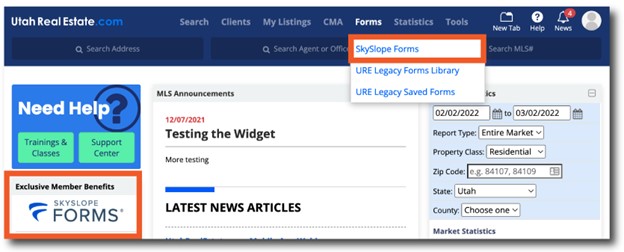
Accessing your SkySlope account is simple. Begin by either selecting the “SkySlope Forms” option from the “Forms” Tab in the main navigation menu of the MLS, or by selecting the SkySlope Forms logo on the MLS Dashboard. Click here for a step-by-step guide on accessing your SkySlope Forms account for the first time. Click here if you are an existing SkySlope customer and you want to sync that account with the UtahRealEstate.com version of SkySlope.
How Do I Prepare Forms for a Client and Send those Forms for Signature?
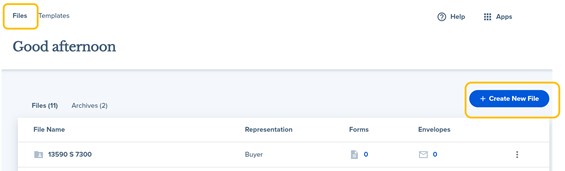
1. Under the Files tab of the main navigation menu of SkySlope Forms, select +Create New File.
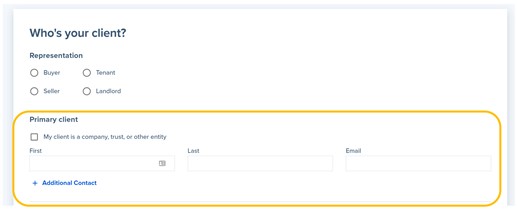
2. Select the capacity in which you are representing this client (buyer, seller, etc.).

3. Enter your client’s information, including their name and email address (needed for Electronic Signature). Select + Additional Contact to add more than one person. Know you can also add indicate if your client is a company, trust, or other entity.
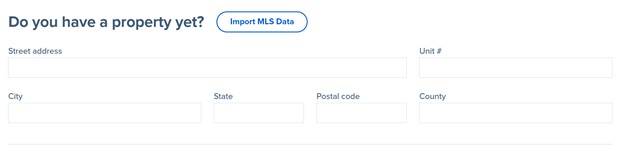
4. Next you will need to enter information for the property in question. If you are representing a buyer on the transaction, select Import MLS Data to search for the listing, which will pull in data for the property directly from the MLS.
If you are representing a seller, manually enter in the address information in the address-related fields provided.
Tip: Start with the Street Address, which will attempt to auto-fill all other address-related fields.
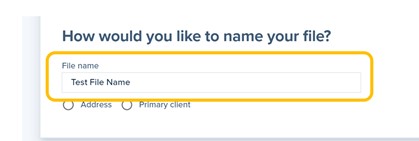
5. Enter a name for the file you created. Consider naming the file using your client’s name or the name of the address of the property.
6. Optional Step: If you previously created a forms template (i.e. a packet with multiple forms that you create and save for repeated use), this is the step where you would select the specific forms pack template that you want to apply to this file.
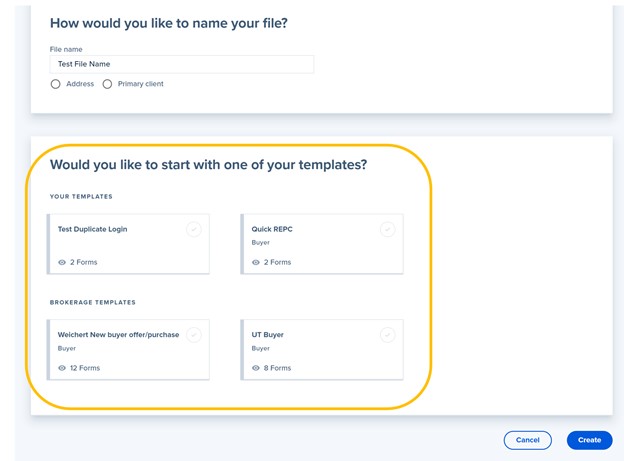
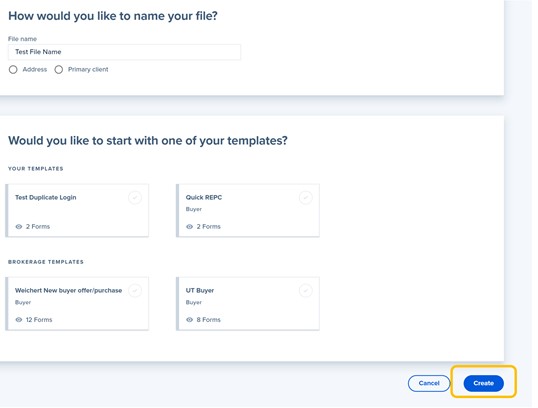
7. Select Create.
8. Now you will select the specific forms that you want to add to your file. Use the scroll bar in your web browser to scroll to the form[s] you want to add and/or use the search bar to search for specific forms.
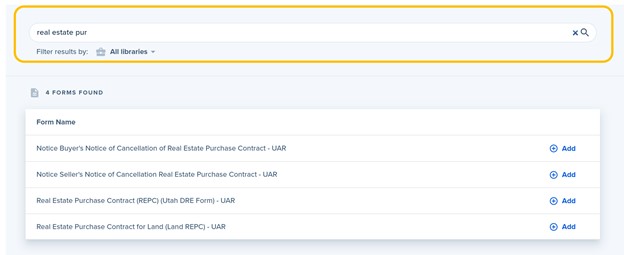
9. Click the Add option next to all forms you want to add to the file.
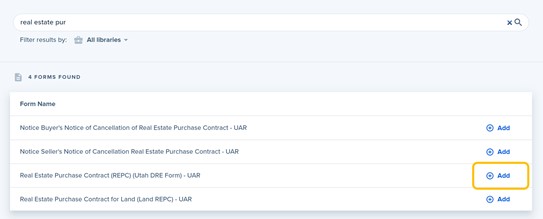
10. Once you have selected all forms that you want to add to the file, click the Next option in the lower right corner of the screen.

11. Next, you will be taken to a page that shows all of the forms included as part of this file. This is where you can click and drag to determine the order in which the forms will appear in this file, add additional forms from the available Forms libraries within SkySlope, download blank forms, or upload documents that may not be available within SkySlope, such as a proprietary brokerage form, etc.

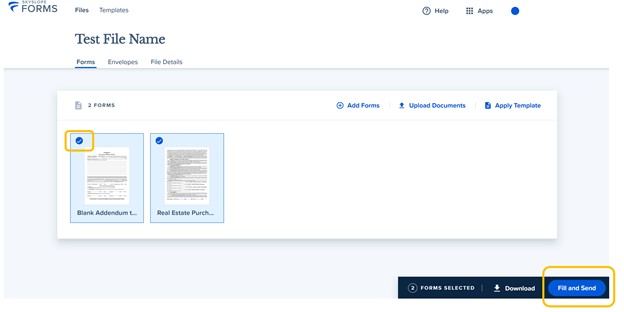
12. Click the checkboxes that appear next to each form to select the Forms that you would like to prepare for signature, then select the Fill and Send option.
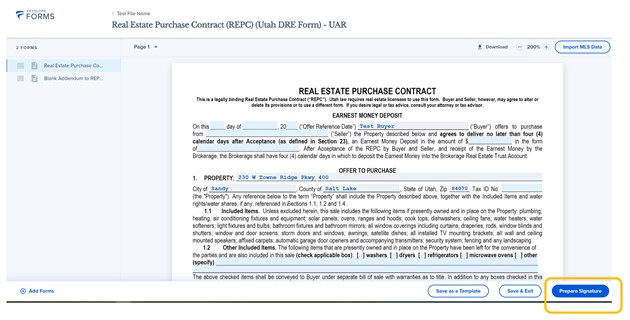
13. Last, verify and/or fill in any information necessary to complete the forms. When the forms are ready for signature, select the Prepare Signature option.
14. You will then be prompted to create a name for the specific group or set of forms that you are sending out for signature, which is referred to in SkySlope as a Forms Envelope. You will want to create a unique name for each Forms Envelope you create, and you may want to consider a name related to the stage of the transaction associated with the set of forms you are sending (For example: Initial Offer, or Counteroffer 1).
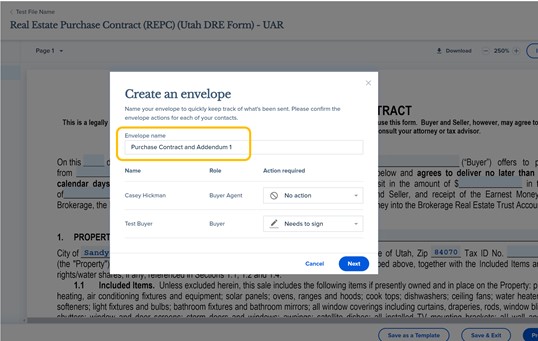
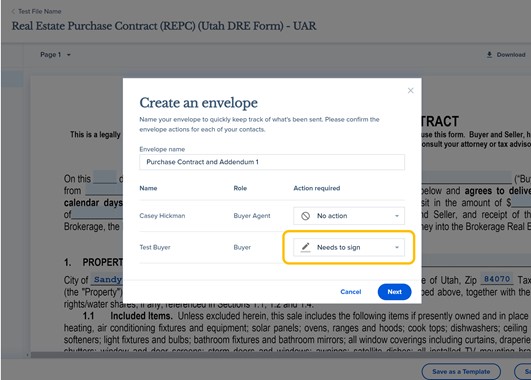
15. Next, use the dropdown menu under the Action Required section to identify the action your client or any recipient is required to take when they receive the forms. Options include:
- No Action. This option will not send unsigned copies to recipients and will not require the recipient to sign. However, recipients set to “No Action” will still receive copies of signed documents once they are fully executed.
- Receives a Copy. This option will send all copies (both pre-signed and signed) to recipients.
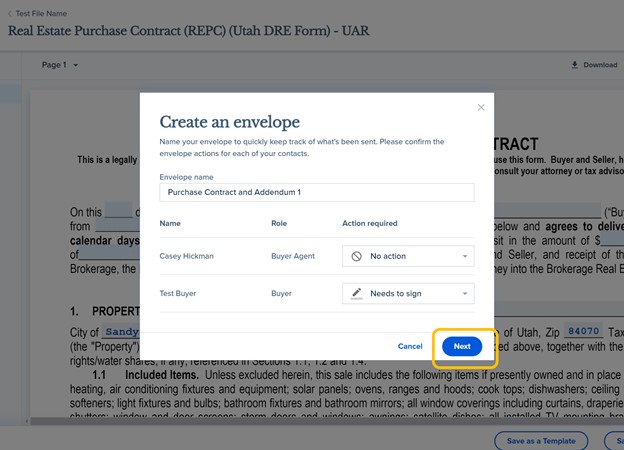
- Needs to Sign. This recipient will be required to sign the forms and documents, and will receive a copy of signed documents when they are fully executed.
16. Select Next, which will launch you into DigiSign (i.e. the electronic signature aspect of the product).
17. When you launch into DigiSign, you will see the signature, initial, and date fields are all pre-populated on the individual forms within the Forms Envelope that you created. Use the tool bar at the top of the screen if you need to modify the forms as to include additional locations for initials or signatures, strikethrough text, add additional text, etc.
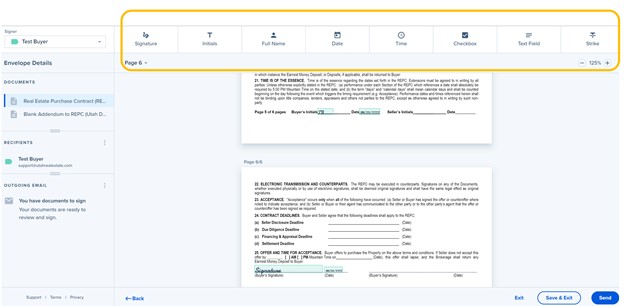
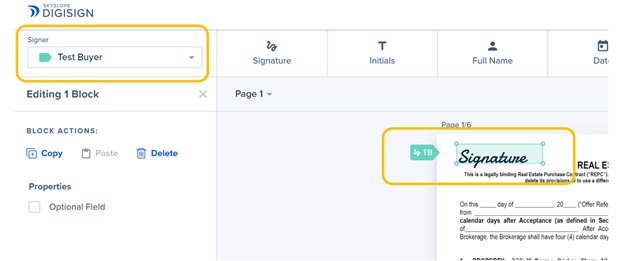
18. If additional actions are needed, such as if a specific person needs to initial or sign in a custom location, make sure to use the Signer dropdown menu option to select the correct person who needs to take the necessary action before you add any additional signature or initial fields.
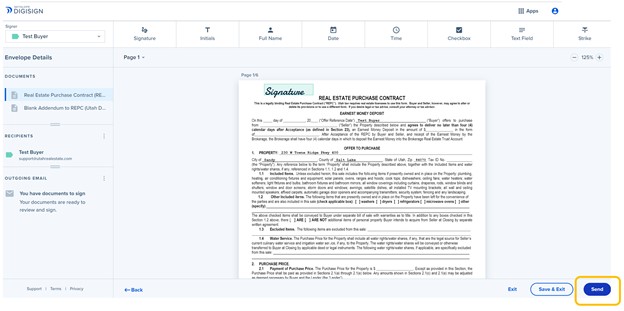
19. Select Send in the lower right corner when the document is ready to be sent for signature.
20. Last, optionally enter a custom email subject and message to be sent along with the documents and select Send for Signatures.

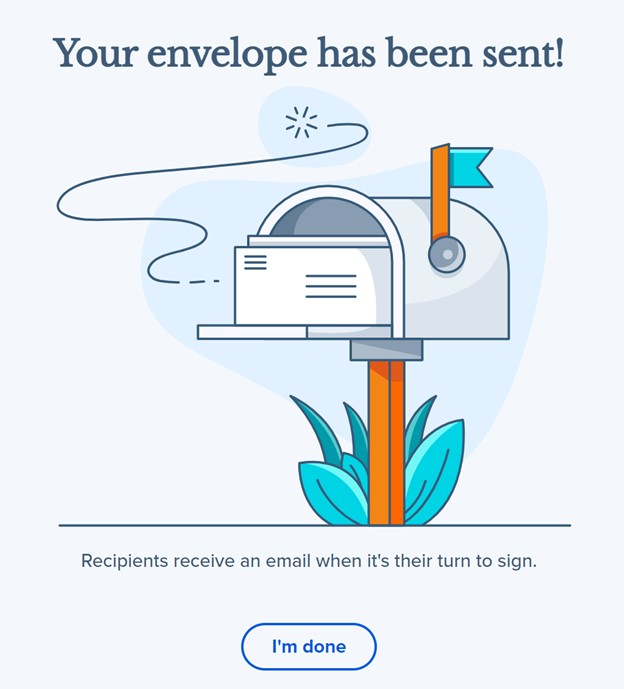
This is the confirmation page you will see once your Forms Envelope has successfully been sent for signature: