Editing Listing Alerts
How Do I Edit A Listing Alert?
Step 1. Select Clients from the main navigation menu in the MLS, then select the Listing Alerts option.

Step 2. From the grid, find the Listing Alert you would like to modify and select the Edit Icon that appears next to that Listing Alert under the Action Column.
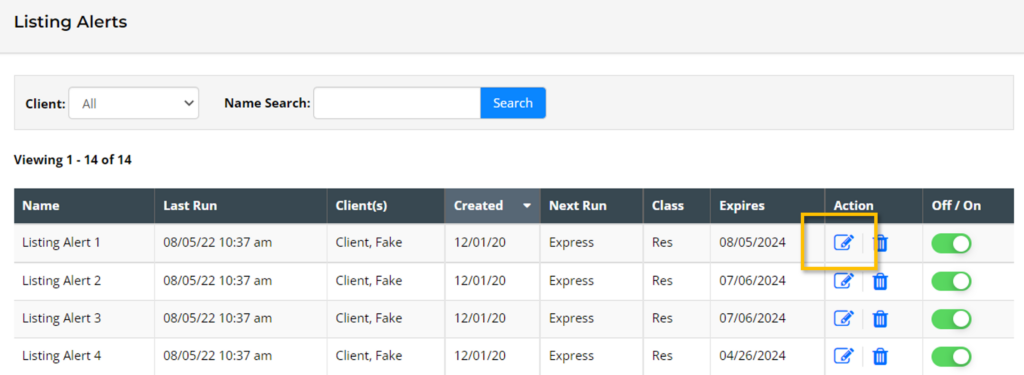
Tip: This table view of Listing Alerts can be sorted by clicking on any column (i.e. The “Name” column, the “Created Date” column, the “Off/On” column, etc., etc.).
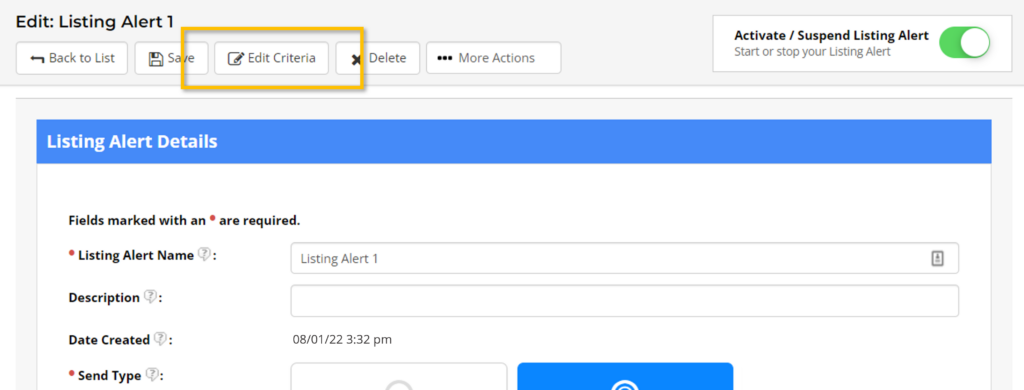
Step 3. Make the modifications you need to make to the Listing Alert settings (such as the alert type, expiration date, etc.). If you need to change the search criteria or type of listings being sent to your client, select the Edit Criteria option, change the search criteria, and click Save to be taken back to the main edit page for that Listing Alert.
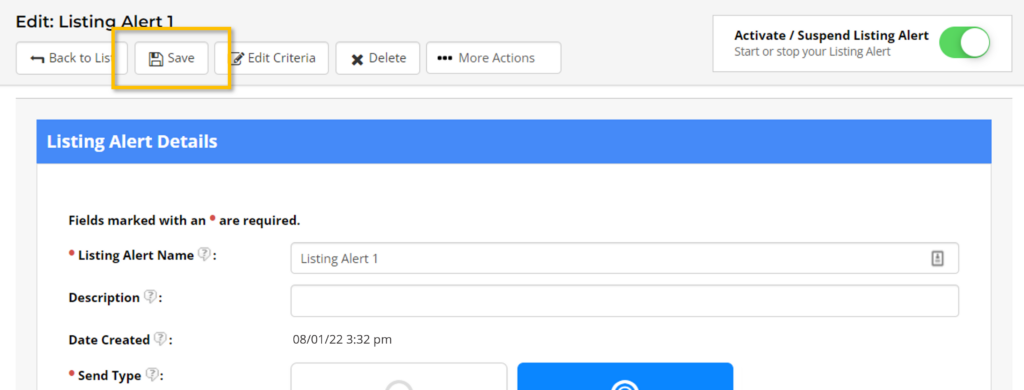
Step 4. Last, once all necessary changes have been made, click the Save option at the top of the screen.
Do I Need to Create a New Listing Alert if My Client Changes Their Criteria?
No. The search criteria associated with a Listing Alert can be changed at any time.
Step 1. From the Listing Alert edit page, select the Edit Criteria option.
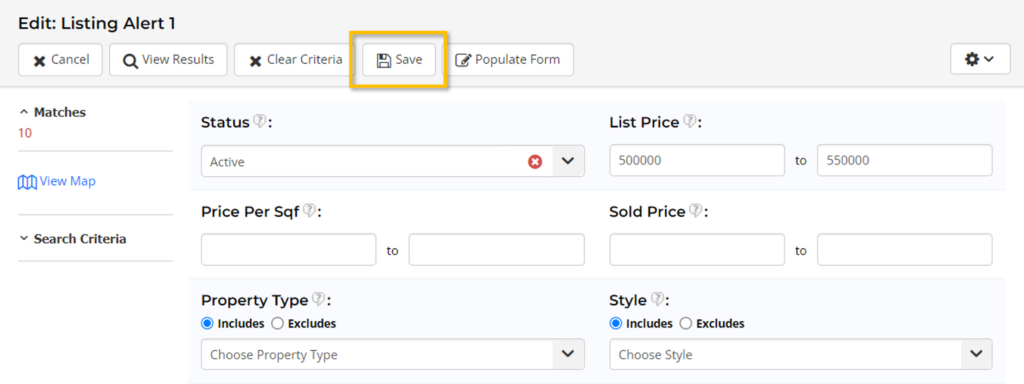
Step 2. Make any changes you need to make to your search criteria, by either entering in new search criteria or overriding/changing previously entered search criteria, then select Save from the search page.
Step 3. Last, once all necessary changes have been made, make sure to click the second Save option at the top of the screen on the Listing Alert edit page for the Listing Alert that you are changing.


