Forms Quick Tips
Tip #1: Create a form packet with all of your forms
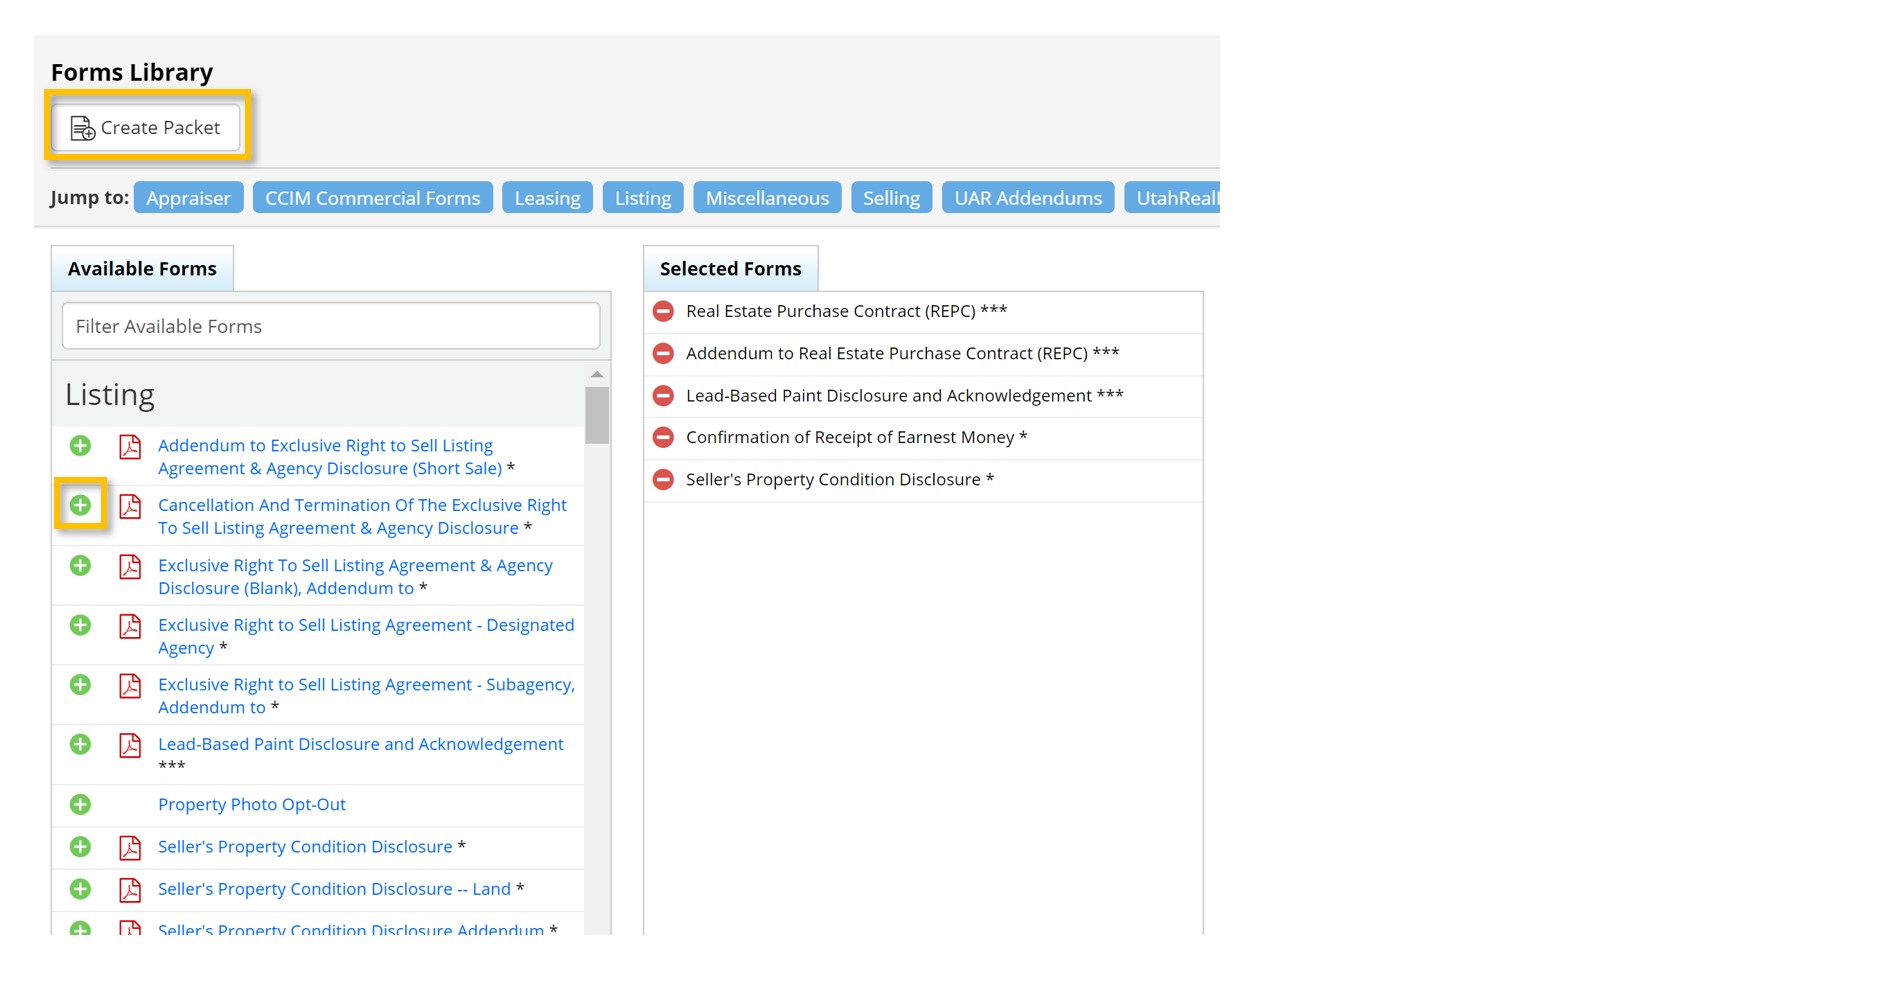
When creating your Form Packet, you want to fill in all of the necessary forms at once, instead of filling each form separately. To do this, Select Forms Library from the Forms Tab. Then, scroll through the list of forms and click on the green Add icon next to each form that you wish to put into the packet (outlined in yellow below). Once you have added all of the forms, click on Create Packet.
Tip #2: Populate the forms using the MLS number for the listing and client information from your client manager
Once you have created your form packet, click on Auto Populate Forms in the upper-right hand corner. You can then populate the form packet using the MLS # or client name (Buyer from your Client Manager). Fill the information in the box (listing number or client), then click on Load to load the common fields below. You can then scroll down and fill the rest of the fields. When they are filled, click on Fill/Update Fields (next to the yellow arrow below).

Tip #3: Load multiple clauses in the REPC Addendum
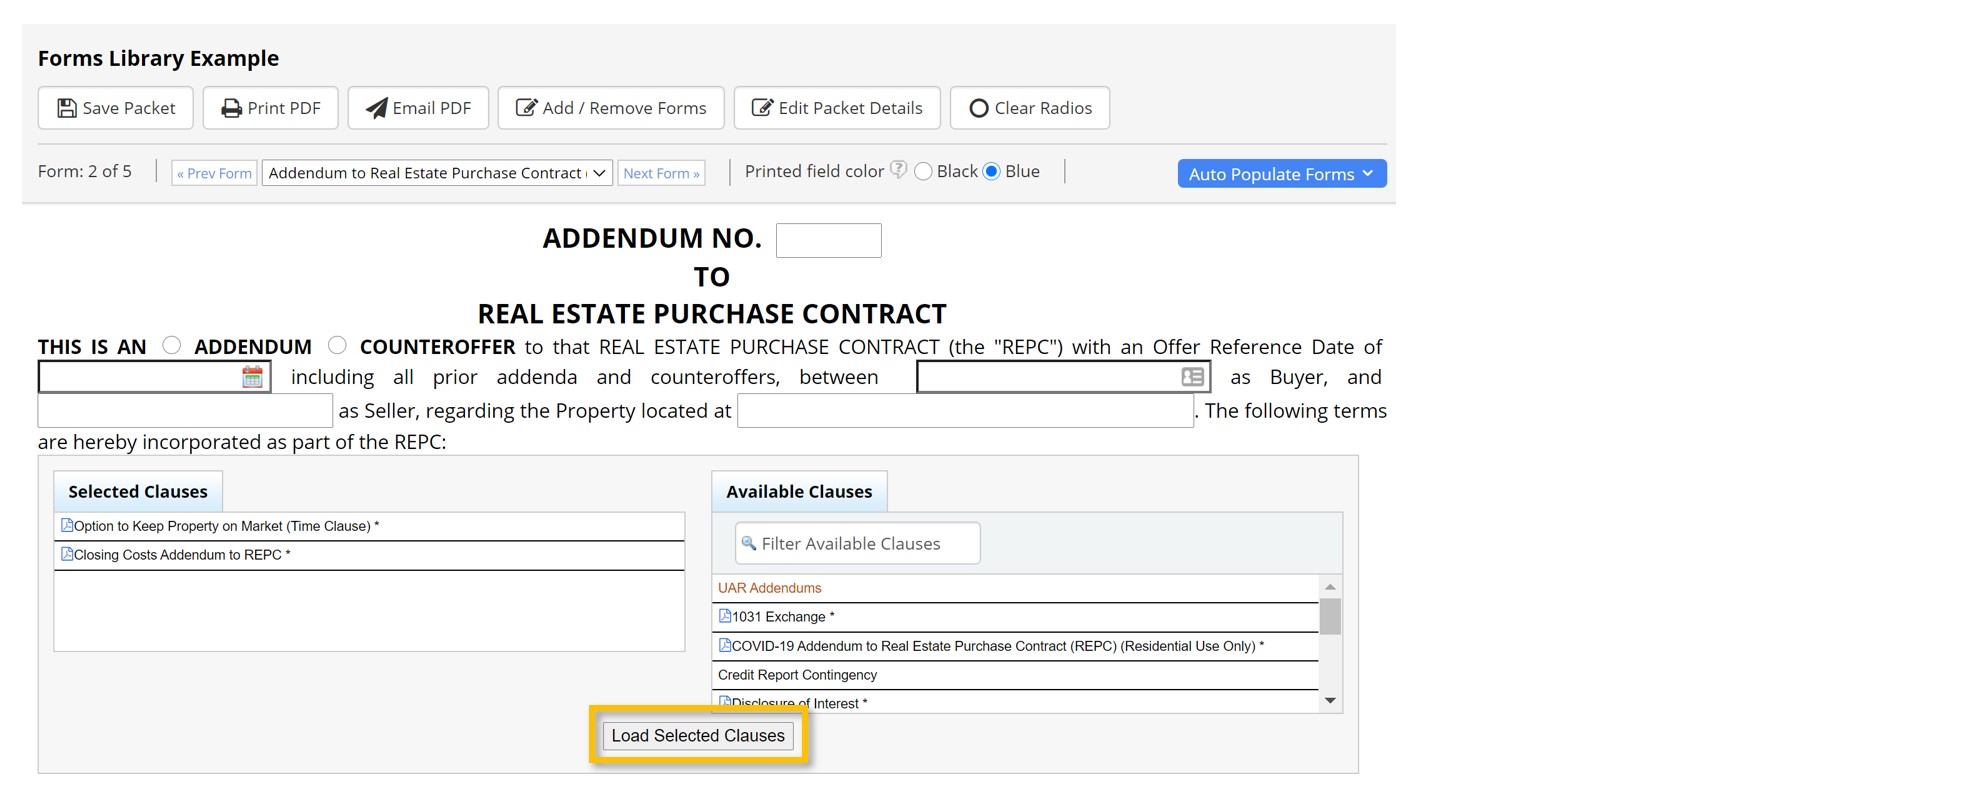
If you need more than one clause in the Addendum to the Real Estate Purchase Contract, you may select each individually in the forms list, or you may load the clauses from within the Addendum. To load multiple clauses from within the addendum, double click on the name of the clause in the list on the right, or drag and drop them from the right to the left. (iPad users: you must use two fingers to scroll through the list, then drag and drop the clauses to the selected clauses on the left). Once you have selected the clause(s), click on Load Selected Clauses to load them into the form.
Tip #4: Select the Printed Field Color
Forms in the form library can be printed in all black, or they can be printed with the filled fields in blue, to make it easier for clients to see the filled information. (Keep in mind, the blue print can be hard to read if it is printed and then scanned in and faxed or emailed). To select the Printed Field Color, select either Black or Blue in the menu at the top (circled below). This selection will be remembered the next time you create a new form within your account.

Tip #5: Email the filled forms to your client
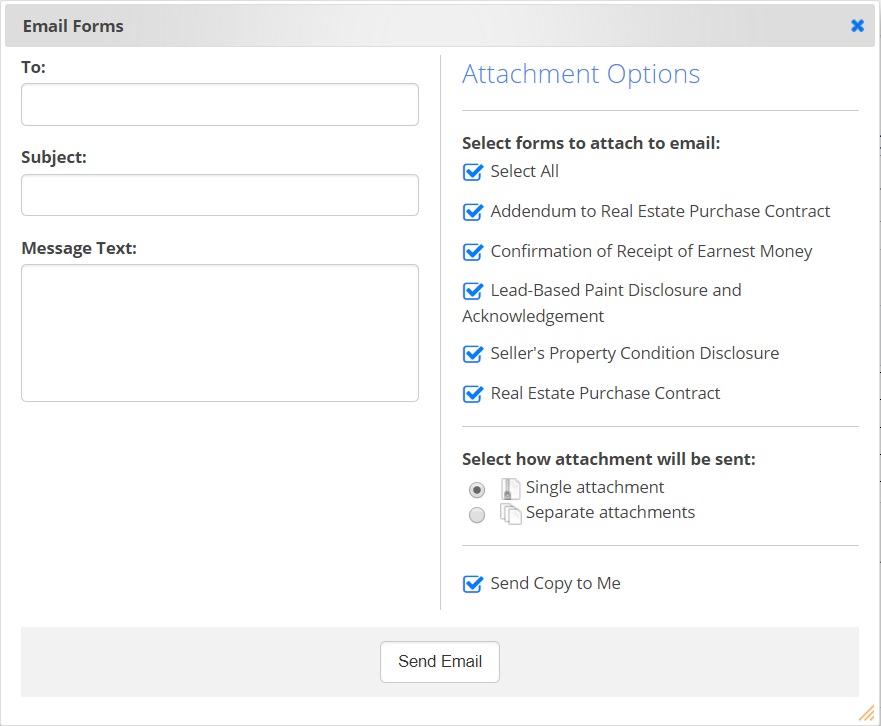
To email the forms to your client, click on Email PDF in the menu at the top. You can then enter your client’s email address and a note to the client. Send all Forms (or uncheck the individual forms you would not like to send), then click on Send Email
Tip #6: Save and name the form packet
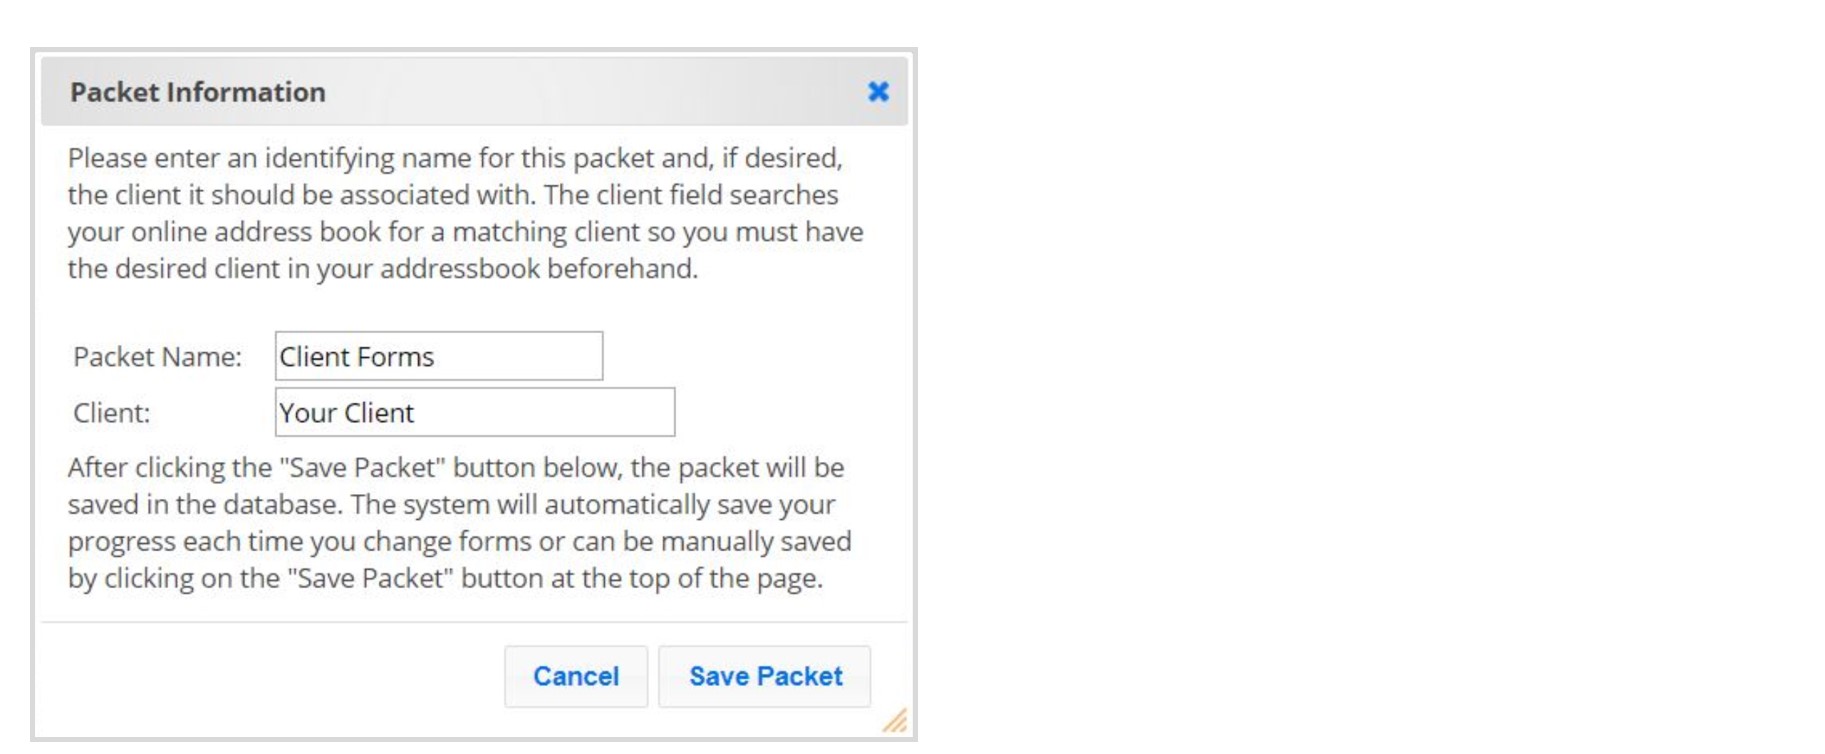
We recommend that you name the form packet so you can find it later. To save the form packet, click on Save Packet in the menu at the top. You can then name the packet and associate a client with the packet.
Tip #7: Edit or view an existing saved form packet
To view or edit an existing form packet, click on Saved Form Packets in the Forms Tab. Click on Edit in the Actions column within the table.


