Adding a Custom Virtual Tour Link to Your Listing
If your virtual tour vendor is registered with the MLS, you can select their name from the list of registered tour vendors. But what if you are hosting your own virtual tours, or you are using a tour company that is not in the list? Here is a guide to adding custom virtual tour links to your listing.
We have two kinds of virtual tours that are allowed on listings: Branded and Unbranded. What do these mean, and where are they displayed?
- Branded means that the tour link can include contact information for the agent or brokerage. A branded tour may include a brokerage logo, the name of the brokerage or agent, the phone number, website, and other contact information. The Branded tour is displayed on the public site, and when listings are syndicated, such as when listings are sent to Realtor.com or Listhub.
- Unbranded means that no contact information is displayed in the tour link, including the name of the agent, brokerage, phone number, and logo. The Unbranded tour is displayed on the member site, on the IDX feeds, and in the tour links that are send to clients in listing alerts or when sending listings.
To add a custom virtual tour to your listing:
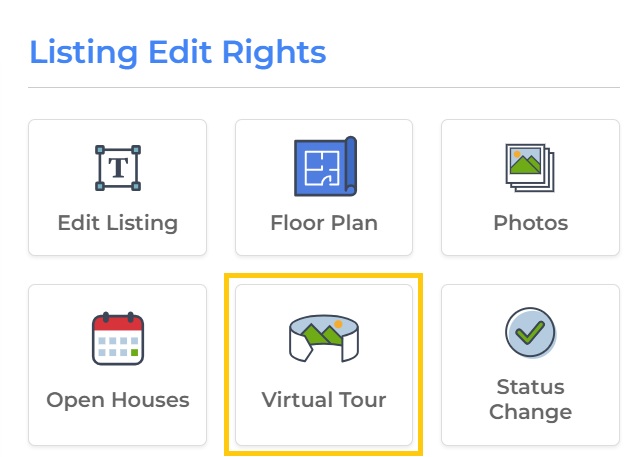
1. Edit the listing, and click on the Virtual Tour icon.
3. If you have more than one tour, you may enter the additional tours on this screen. Up to three tours can be displayed on listings (one from a registered vendor, and two custom links).
4. Click on Save Tour in the gray bar at the top to save the changes.
We advise that you enter a link into both the Unbranded and Branded tours. If either of these fields are blank, the tour will not be displayed in the places where that tour would be shown. For instance, if Branded is blank, the tour will not appear on the public site. Please note: It is OK to enter an unbranded tour link into both of these fields, but it is not OK to enter a branded tour into the unbranded tour link.


